Making Rustic Wooden Lamps
I like to make lamps in batches of half a dozen or so. I get out some of the potential lamp materials I have collected while hiking in the woods or cutting firewood. These are branches and small trunks that have interesting shapes and textures. They can be any kind of wood but this batch included Dogwood, Oak, and Mountain Laurel. I study each piece to see how it will work in a lamp.
The first issue is getting a hole bored through for the lamp cord. Long (18”) drill bits are used and not every piece will be successfully drilled. The ones that fail become fire wood while the rest move on to the next step, attaching the stem to the base.
The base can be a similar wood or a contrasting piece. Sometimes I will use a rock. The stem is fixed to the base by whatever means seems best. Most of the time I use screws and epoxy. The cord is inserted through the base and out the top of the stem.
Next, the lamp is finished. I seldom use any stain because I like the natural wood look. The top coats are hand-rubbed varnish or sprayed lacquer.

When the finish has dried, the final step is to install the hardware. I use the best components I can find so the lamp will be functional for a long time. When a suitable shade is added, the lamp is ready to go.
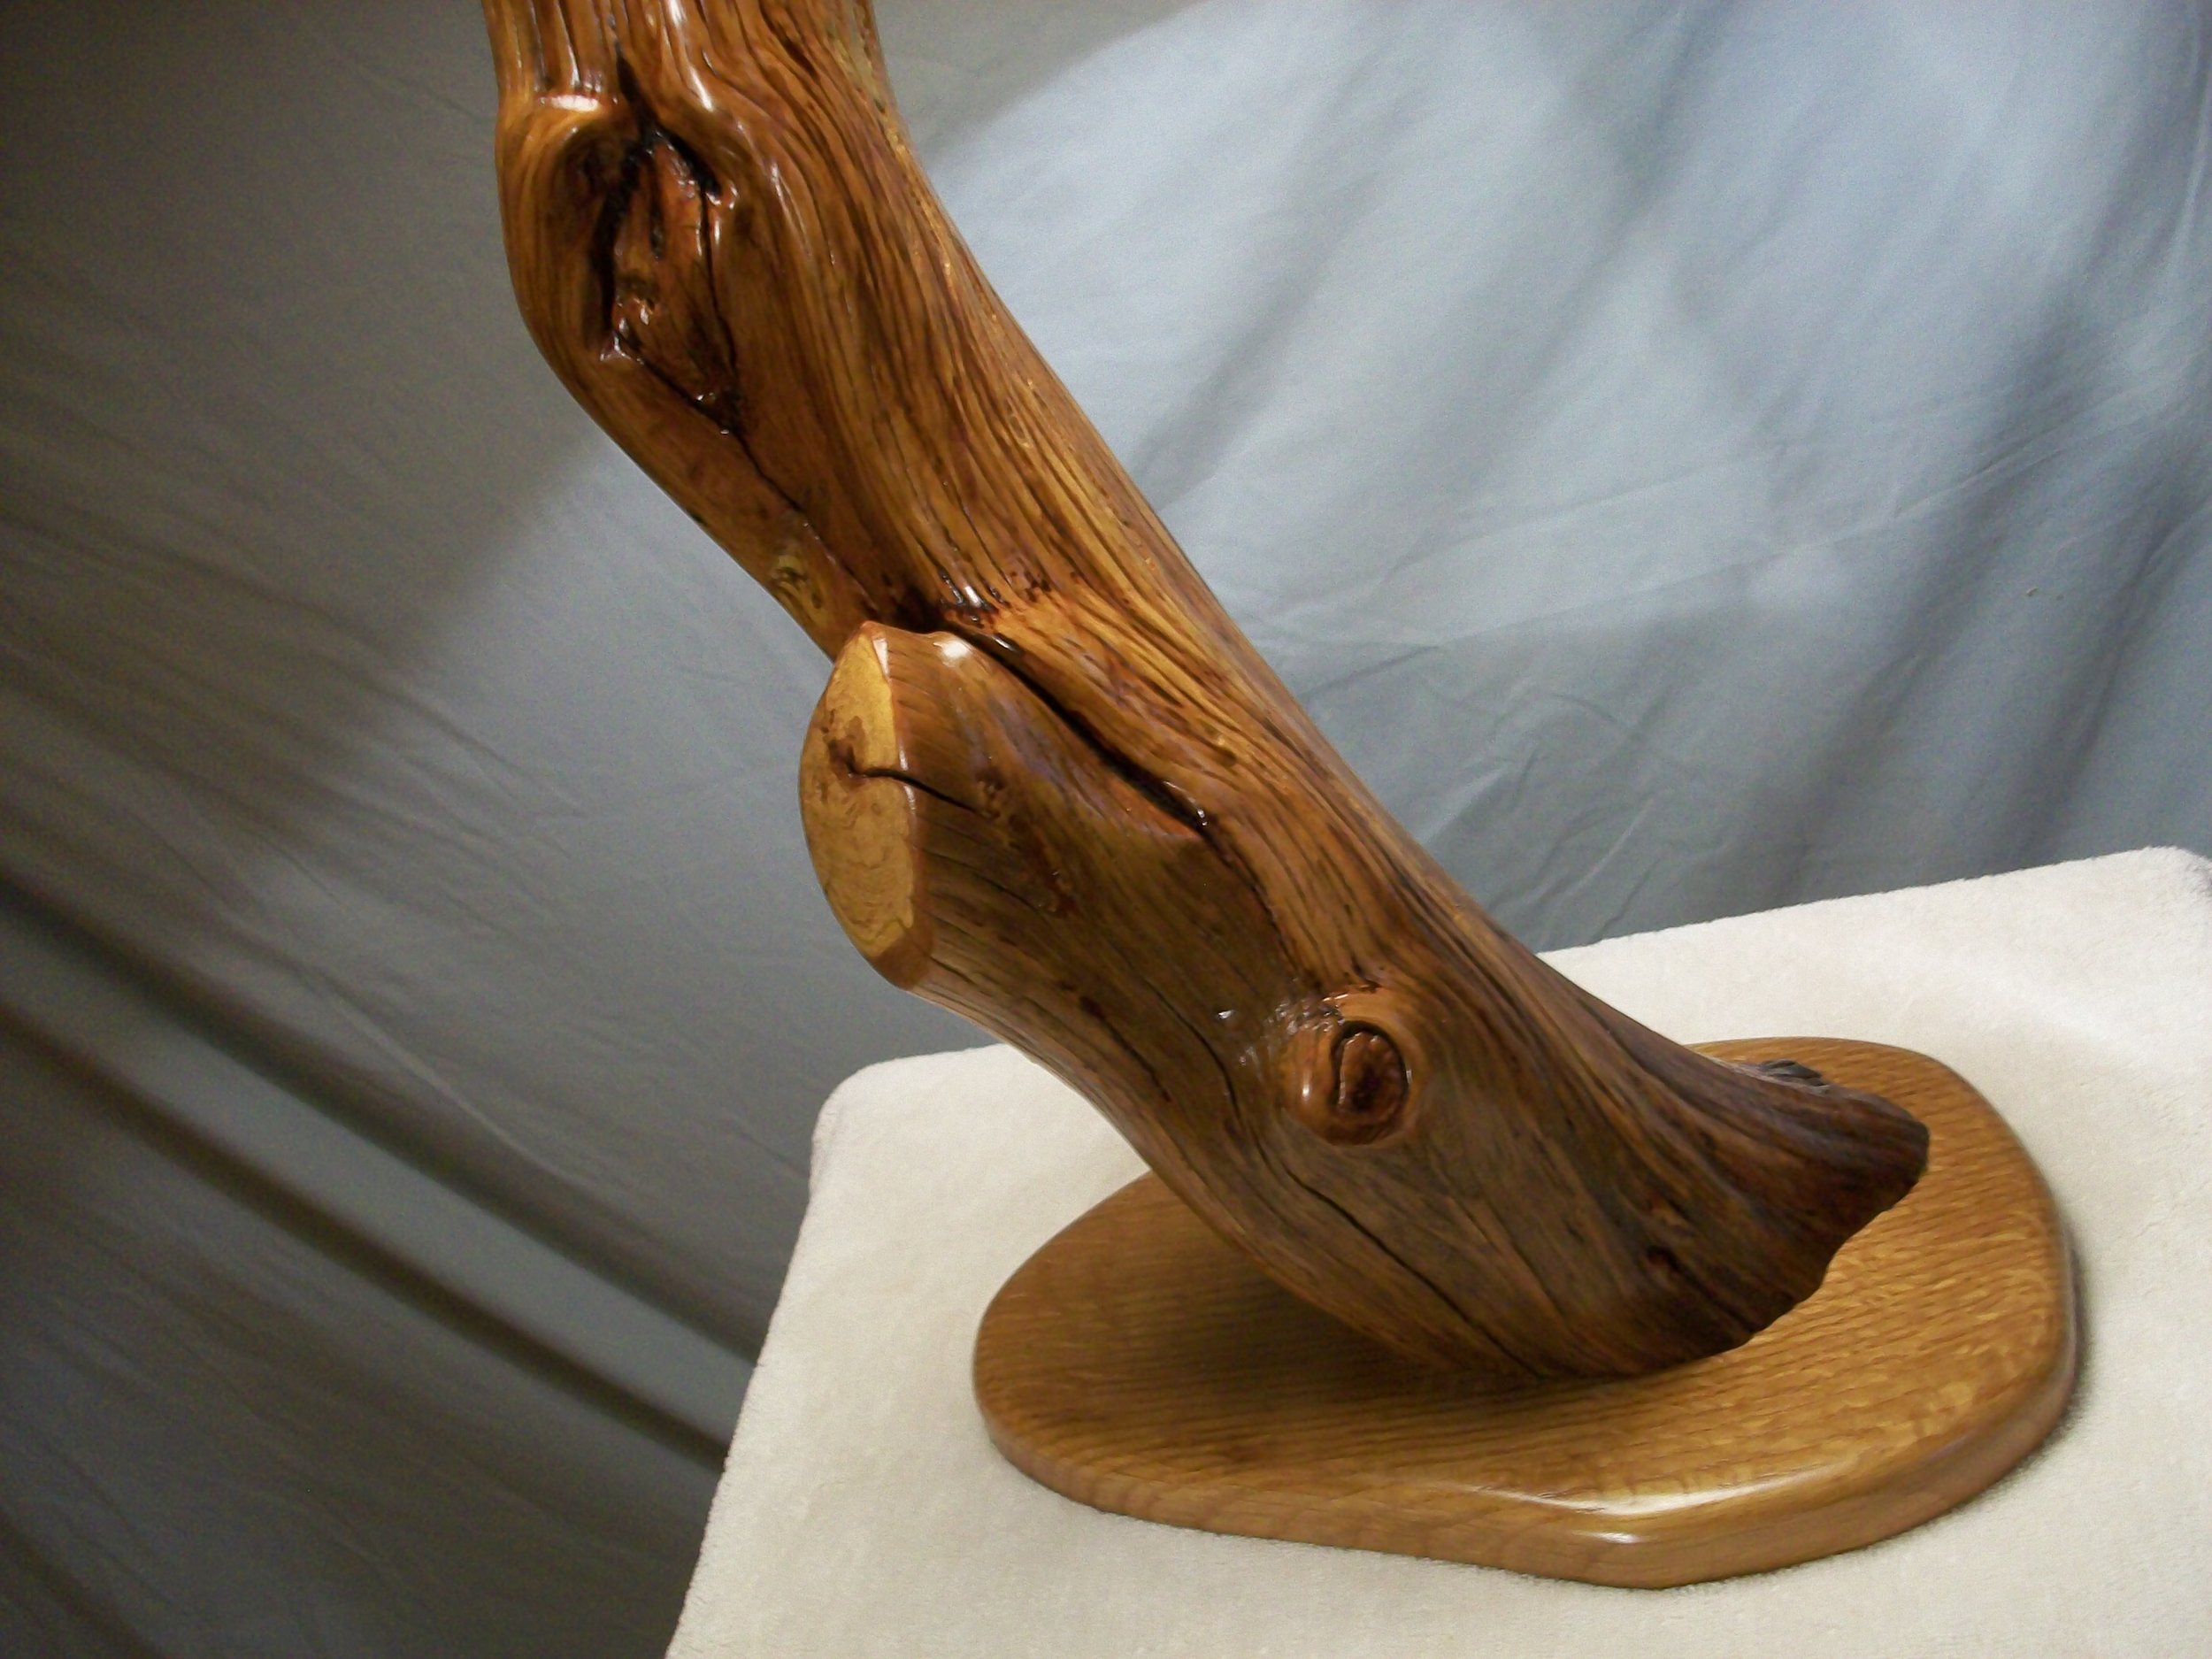
This batch included a couple unique lamps. One was a sinuous piece of Mountain Laurel that came off the rock base horizontally then twisted up to the vertical. Drilling the holes for the cord was a real challenge on this one. The other unusual lamp was the “foot”. This one I rescued from the firewood pile when I noticed the shape. It was 95% shaped when I found it. The only carving I did on it was a slight amount on the end to define the “toes”. I guarantee there is not another lamp like it anywhere!
